
Brookline Wood Flooring handles wood floor refinishing across Brookline, MA, serving surrounding cities including Jamaica Plain, Forest Hills, West Roxbury, Watertown and Back Bay. For 20+ years we have taken worn, stained and orange-toned floors back to bare wood and rebuilt the finish from the first coat up. Refinishing is the service we are asked for most, because the floors in this part of Massachusetts are old, good and almost always worth keeping.
A refinish is not the same job twice. A red oak strip floor in a 1920s apartment, a wide pine floor in an eighteenth-century farmhouse and a parquet floor laid in a brick building before the war each sand differently, take stain differently and wear through in different places. We start by identifying the species, the cut and how much wood remains above the tongue, then choose the sanders, the grit sequence and the finish to suit that floor rather than running the same routine on every job.
The work around the sanding matters just as much in older homes. Houses built before 1978 get their painted surfaces checked before any machine runs, finishes are chosen to meet the state’s rules on VOC content, and in condo buildings the association’s hours and elevator are booked before the first day. Every job leaves you with a written schedule for coats and cure time.
Signs a Hardwood Floor Needs Refinishing
Gray Wood and Worn-Through Traffic Lanes
When the finish wears off in a hallway, in front of the sink or along the path to the back door, the bare wood underneath absorbs dirt and water and turns gray. A recoat cannot fix that, because new polyurethane over gray wood seals the gray in. Sanding removes the discolored surface and lets the whole floor be finished as one.
We look at how deep the graying goes before we quote. On oak it usually sands out in the first pass. On soft pine it may go deeper, and we tell you in advance if a few boards will stay a shade darker than the rest.
Scratches, Dents and Water Stains
Scratches through the finish and into the wood, dents from furniture legs and white or gray water stains from spills are the everyday reasons people refinish. Most of them come out with a full sanding because they sit in the top fraction of the board. Deep gouges and black stains that reach far into the grain may call for a board replacement instead.
We test a stained area before quoting so the estimate says which marks will sand out and which will not. That keeps the surprise off the last day of the job.
Orange, Amber and Yellowed Finish
Oak and maple floors finished decades ago with oil-based products turn yellow, then amber, then orange as the finish ages in sunlight. It is the most common complaint we hear about otherwise sound floors. Sanding to bare wood removes the old coating completely, and refinishing with a clear waterborne polyurethane keeps the color close to what the wood actually looks like.
Refinishing by Species and Floor Type
Red Oak and White Oak Strip Floors
Red oak is the floor in most of the apartments, two-families and single-family houses around Brookline, and white oak shows up in better-built homes, sometimes quartersawn with a flecked, ribbon-like grain. Both sand predictably on a drum sander and take stain well, though red oak shifts pinker under some finishes and white oak reads cooler.
We choose the finish with that shift in mind and lay sample boards in the room so you see the result in your own light. Quartersawn white oak in particular deserves a clear finish that does not bury the figure.
Eastern White Pine and Wide Plank Pine
Pine is soft, with a low Janka hardness, so it dents easily and sands away quickly under a heavy machine. We refinish eastern white pine and wide plank pine with lighter passes and finer grits, and hand scrape where a board is cupped or worn into a hollow. Gaps between old pine boards are part of the floor’s character, and we fill them only if you want them filled.
Pine also ambers heavily under oil finishes, which is why many owners arrive asking us to remove an orange tint. A clear waterborne finish or a hardwax oil keeps it paler.
Maple, Heart Pine and Prewar Parquet
Maple is dense and closed-grained, which makes it hard to stain evenly, so we usually leave it natural. Antique heart pine is harder than white pine and glows under a clear coat. Parquet, common in prewar condo buildings, runs its grain in several directions, so it is sanded at angles and finished with an orbital sander to erase cross-grain scratches.
Loose parquet blocks are re-glued one at a time before sanding starts. Covering an old parquet floor with a floating floor is the other option people are offered, and it gives up a floor that can still be refinished.
Finish, Stain and Sheen Choices
Waterborne and Oil-Modified Polyurethane
Waterborne polyurethane dries clear, cures faster and has less odor, which suits condo buildings and households staying home through the work. Oil-modified polyurethane builds a warmer amber tone and has a longer track record on some older floors. Both are used within the Massachusetts limits on VOC content in wood coatings under 310 CMR 7.25, which are stricter than the federal ones.
We show both on sample boards when the choice is close. Most of our Brookline refinishing jobs end up waterborne for the color and the shorter time out of the room.
Hardwax Oil for a Low-Sheen Look
Hardwax oil soaks into the wood rather than forming a film on top, giving a matte, natural look that suits pine and wide-plank floors. It is easy to spot-repair, since a worn area can be cleaned and re-oiled without sanding the whole room. The trade-off is more regular maintenance than a polyurethane needs.
Floor Stain, Water Popping and Sheen Level
When you want a color change, we water pop the sanded floor, lightly wetting the grain so it opens and takes floor stain evenly. We test stains on the floor itself because the same color reads differently on red oak, white oak and pine. The final sheen level, from matte to gloss, changes how much wear and dust shows, and satin or matte hides the most on a busy floor.
Refinishing in Condos and Older Homes
Lead Checks Before Sanding
Massachusetts runs its own lead-safe renovation rules under 454 CMR 22.00, and they bar power sanding of painted surfaces without HEPA-filtered exhaust. Before sanding a floor in a house built before 1978, we confirm the build year and look for paint on borders, baseboards and stair risers. Where paint will be disturbed, the work is set up lead-safe from the start.
Dust Containment and a Written Cure Schedule
Our sanders run into dust collection and HEPA vacuums, and each work area is sealed at doorways and returns. Before we start you get a written schedule that lists sanding days, coat days and the dates for socks, furniture and rugs, so you can plan meals, pets and work around it instead of guessing.
Condo Hours, Elevators and Neighbors
In a condo building we confirm the association’s work hours and book the elevator through the manager before the floor goes on our calendar. Sanding is loud, so we ask the manager to notify neighbors ahead of time, and we keep the finish odor inside the unit as best a building allows.
Our Step-by-Step Wood Floor Refinishing Process
Step 1: Inspect and Test
We identify the species, check wood thickness at a vent or threshold, test for wax and look for stains, loose boards and painted surfaces before quoting. The written quote lists repairs and stairs separately from the refinishing itself.
Step 2: Repair and Prepare
Loose cleats are set, damaged boards are replaced with matched wood, parquet is re-glued, and the room is sealed with plastic for dust containment. Doing repairs first means the new boards are sanded level with the old in the same passes.
Step 3: Sand Through the Grit Sequence
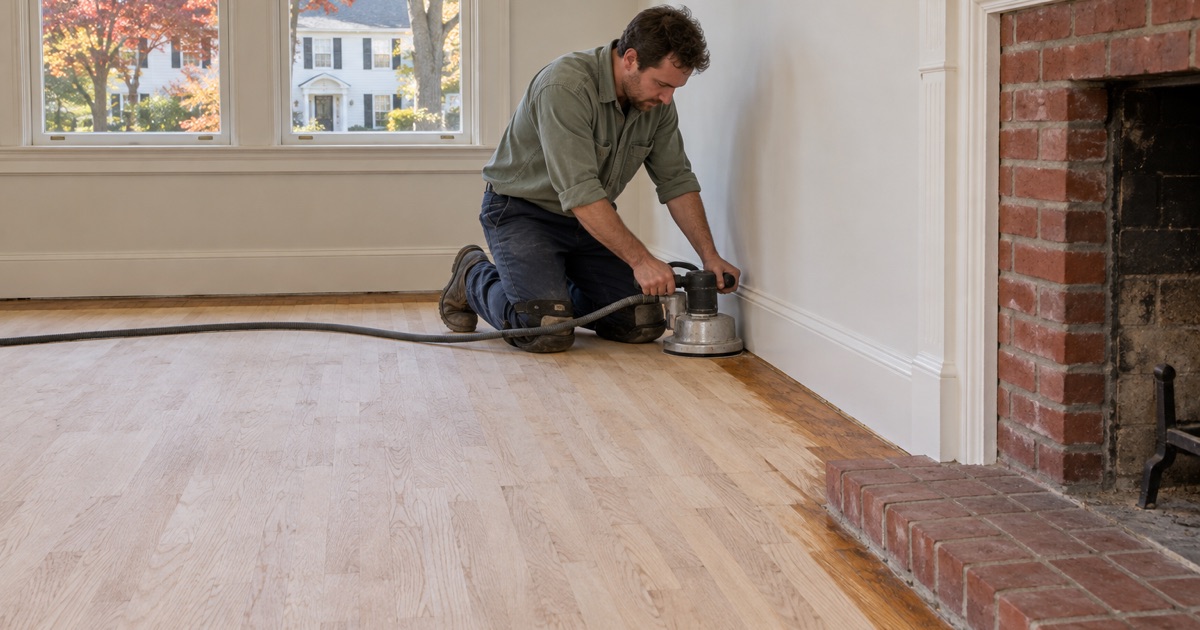
The drum sander and edger take the floor to bare wood in progressively finer grits, followed by an orbital sander to remove the marks each pass leaves. Skipping a grit leaves scratches that only show once stain or finish goes on.
Step 4: Stain and Finish Coats
After a thorough HEPA vacuum and tack, we apply stain if chosen and then the finish coats, with light abrading between them for adhesion. Each coat dries fully before the next, following the product’s own recoat times.
Step 5: Walkthrough and Cure
We walk the floor with you, hand over the cure schedule and care instructions, and leave felt protectors for the furniture legs. If anything catches your eye in the days after, we come back to look at it.
- 20+ Years on Wood Floors
- Free In-Home Estimates
- Dust-Contained Sanding